Showing posts with label Rudder. Show all posts

Sunday, 15 March 2015

A bit more rudder and some odds and sods.

Now that the sikaflex has set, it is time to start laying up some GRP.   First thing I needed to do was to position the blade so that I could work on it in various positions without covering myself in gloop.
I clamped a length of tube in the vice which allowed the stock to be supported but free to rotate.. The brown tin on the bench provided the stop which allowed me to work on other side of the blade.


I used a flap wheel on the angle grinder to take the top layer of antifoul, paint and gel coat off the leading edge and shape it to some extent.   This produced a lot of toxic dust so a good respirator was required.
After a wipe down with Acetone the gaps were filled with epoxy/micro fibre mix and the whole area was wetted before applying a layer of matting.  This was then further soaked and rollered to fully impregnate the matting. 

Left to dry, I am sure it will need a lot more work but as I have run out of resin, that will be all for now.

Today I also fitted the new stanchion tops,  they didn't fit too well in my stanchions so needed additional fixing.  The first one I drilled through the old guard wire hole and bolted it in.  This was ok but looks a little naff.


The rest I have riveted on and these look much better.  I had been using rope as guard wire but had found the old standing rigging from Jelly Bean in  box in the garage.  The Shrouds turned out to be plenty long enough to make stainless wire guard wires from, can't beat recycling :)
A couple of seasons ago some kind soul on a much larger sail boat over took me, as I was passing the last marker on the training wall which runs out to Studland, and stole my wind.  With no forward motion, I drifted into the post and my topping lift snagged, breaking the bracket at the end of the boom.

So back on the recycling theme, I used the old lower pintle cup to make a new end plate for the boom.   I made a simple pattern and cut it out with a hacksaw and finished it with a file.  I will drill a hole for the topping lift and may weld on a small hoop to attached a block for the outhaul.  This will be a big improvement.
It's late in the day and these are small steps but it is getting there.. I have decided not to make a list of jobs this year to avoid disappointment.

Sunday, 8 March 2015

Ruddy rudder

I've made some more progress on getting the rudder back together with a huge amount of help from my favorite Yorkshire man.  Brian has a great workshop with some tip top tools and the knowledge to use them.
First I needed to mark up the rudder stock and tube for where the flange will sit, the position of the blade and the approximate position of each tang.
Marking position of blade and tangs

I took (nearly) everything to Brians... I did forget to take the bottom hinge bracket, the Stainless strips and the bottom of the skeg, so I'll have to go back another day to finish that off..
Brian doing his thang
After a lot of lining up, measuring and checking again Brian tacked the flange onto the tube.  I was feeling brave so asked if I could have a go at the welding.  I'd never tried stick welding before or welded Stainless so this was new to me.  The results weren't pretty but fairly robust.    
The 25mm Stainless stock was drilled through in two places to allow the 10mm rod tangs to pass through and be welded on the back side.  These holes were then used as a jig to drill into the rudder blade.  Once the tangs were hammered into the blade.and the stock hammered onto the tangs, all a good interferrance fit, the tangs were welded to the stock.. I left this for Brian to do :)


No seagull poop comments please.

The flange hadn't looked 100% square on the tube when I'd finished welding it but fortunately, back at the ranch,I could see the GRP on the boat had a slight slope on it, so more by luck than judgement, the flange fitted perfectly.
Glooping it up
I used copious amounts of Sikaflex to fill the big gaps (above) and attach the leading edge of the blade (Below).  I then strapped it up to set and will shape and epoxy it all back together over the coming week.
Stick the leading edge back on.

Friday, 20 February 2015

More Rudderisation :)

I'm not going to be able to get any more work done on the boat this weekend, however some more bits arrived in the post today. This lump of Aluminium cost £11.35 including postage and Only took three days to arrive.  Not bad. 
This will become the tiller bracket, if that's the right word.  I'll bore a 25mm hole through it, then cut a slot through to the hole and made a pinch bolt arrangement to clamp it onto the rudder stock. 
Other items which I now have all the bits for are the outboard charge feed connector. 
It's a lovely IP67 rated Bulgin connector complete with dust caps. 
Just need to find time to start fettling 

Sunday, 15 February 2015

More rudder stuff

I did a little more today,  I had read that you need to split the rudder longitudinally to free the old stock and tangs.   I used a thin cutting disc on the angle grinder and wizzed around the edges.. No hope of splitting this blade that way.   I then Sliced along the sides and took the front edge of the the blade off.  the old stock then easily come out, leaving it's tangs firmly embedded in the wooden core.

Old stock removed
The wooden core is a bit damp, doesn't seem to be rotten but needs to dry out.  The new stock is a few mm less diameter than the old one so can sit on a bed of grpand then be laminated up.
Old tangs embedded in wooden core.
The new tangs will be welded onto the stock and holes will be drilled into the core for them to go into.  I will probably fill these with Gripfil or similar to secure the tangs within the blade.
Using a jubilee clip to gauge squareness of cut.
One of the things I always struggle with is cutting tube nice and straight.  I come up with this idea to give me a visual aid while cutting.  A Jubilee clip a few mm from the cut line helps to keep things square.
New stock temporarily fitted.
I cut the new stock roughly to length and dropped it into position.  All looks good, The old lower bracket in the picture will eventually have a cup welded onto it, an off cut from the tube,  to make a lower bearing.
Roughly how it will look when done (Sans jubilee clip).

Rudder tube repairs

It's only two months since my last post and... only two and a half months to launch!  Guess I'd better pull my finger out.   A major issue which needs sorting is the rudder.  Its been a problem every year .  First  the pintle snapped off so I had a bucket made to fit on the rudder with a new pintle on it.  Then the bracket failed so I beefed that up, lastly the pintle snapped off the new fitting as well as shearing off the screws which held on the lower bearing. so this year I decided to start again.   

The stock, tube and flange.
I've managed to scrounge together most of the bits I need. Richard supplied the 25mm Stainless bar which will be the rudder stock, a good friend supplied another bit of stainless tube which had a natty flange on it and a customer gave me a length of stainless tube with a one inch internal diameter and he also kindly put a BSPT thread on one end.


Tube fits nicely inside current rudder tube.
The tube is currently over length but that's fine. It fits nicely inside the current rudder tube and the stock fits nicely inside the tube.   I intend to cut the tube so that it is just long enough to go through the hull, leaving a thread poking out of the bottom.  The flange will be welded to the top and will be screwed to the deck,and I can then put a nut on the bottom and sandwich it all together.
The flange will secure the top of the tube to the deck.
I will have to slice the rudder blade in two to remove it from the current stock.  I will then need to find someone to weld some tangs onto the new stock and then I'll epoxy it back together on the new stock.
Just need a nut to sandwich it all together.
The stock will protrude out of the bottom of the blade and I will use an offcut from the tube to make the bottom bearing.  The bracket for the tiller will also have to be remade but I'll cross that bridge when I come to it.

Tuesday, 4 June 2013

Rudder Trouble #3

So then, the repairs to the rudder move on a bit.   A local fabricator has supplied me with some strips of 3mm x 22mm stainless steel, drilled to match the old thin ones. In the meantime I'd cut a chunk of Nylon to make the bearing.  As I can't weld stainless I asked Brian to help me out.   Brian just does things.. I don't know anyone else who has made their own weld set!

The strips were about 2" over size so the plan was to trim the excess off the strips and use one off cut to weld across the bottom to form a channel for the Nylon bearing to sit in

Brian did a fabulous job, the bearing fits nicely. It will be fixed in place by a bolt from one side to the other.  I  will drill the bearing after I have aligned it with the pintle.


I will run the boat up on the beach again ASAP in order to fit it, Hopefully back in business by the weekend :)

Friday, 31 May 2013

Rudder problems #2

Ok, so after work I went straight to the boat and motored her up in front of the club house. The idea being to let her dry out on the falling tide so that I could remove the broken fittings and see what would need to done to get her usable again.

Even though we are coming off springs now there was still a lot of water. I'd expected to have hit the bottom about half way along the pier but I could have got nearly to the seawall.  In the end I dropped the anchor where I thought I should be then drove home for some dinner while the tide did its bit.

Back to the club with a full belly, I took advantage of the Hurleys tendency for the bow to drop and deliberately pulled the nose down to get the skeg clear of the water.  This gave me about another 20 mins of working time.


I took the broken parts to Brian's house as he has the skills and equipment that I lack for working with stainless.  After a bit of a conflab we came up with a plan however it wouldn't be until at least Sunday as Brian was preparing for a trip to the solent.  
Back on the beach and I took the opportunity to touch up the antifoul and contemplate my navel while waiting for the tide to come back.


Sat on the boat, I amused myself in my sloping world by have a pint and rocking out to the itunes disco... not easy with only 4' of headroom :)


Eventually, about a quarter past midnight there was enough water to motor back to the mooring. I seem to be getting the hang of the seagull outboard, I'm finding it easier to start and timing when to cut the engine before the inevitable crash is becoming more intuitive.  I find cutting the engine early then using a paddle to dierect the tender the last few feet works well.

Nearly afloat.. clubhouse webcam captures me on the iphone :)


Wednesday, 29 May 2013

Rudder problems

Hmmm, it looks like the problem with the tiller was a symptom and not a cause.   Unfortunately, when I arrived to repair the tiller, the rudder stock had dropped down the tube, the rudder was just floating. Something is obviously missing from the bottom of the rudder / skeg.  I will have to run her up the beach and wait for low tide to investigate. In the meantime I have drilled and tapped the headstock for a bolt to locate in the rudder stock. This will stop the rudder from potentially coming out altogether. 


Friday, 2 December 2011

There I was, digging this hole

I have been trying to remove the tiller from the rudder stock for a few days now, but bimetal corrosion has been fighting against me. I need to get it off do that I can repair the lower pintle and assess if the tube needs replacing.
I eventually won the battle with plenty of brute force and ignorance.  The tiller is attached to the rudder stock by the above home made aliminium clamp bracket.  The six holes that you can see contained socket head stainless steel bolts with the head fitting fairly snugly below the face of the block.
Over the course of several evenings I tried allen keys, then an impact driver. I then drilled through the heads with a 5mm drill, it still wouldn't release. I finally drilled the heads off with a 10mm drill and guess what... it still wouldn't release.  I eventually had to get brutal with a Dagenham torque wrench and a wood chisel.  I was worried that I would be causing greater damage with this approach but couldn't think of any way around it.  After copious amounts of wd40 and about an hour of slogging at it it opened up enough to slide off.

The rudder and stock slipped through the hull only to stop short on my lawn.  I tried to tilt the trailer forward on the jockey wheel but there wasn't enough clearance under my storm porch, it's a tight fit on my garden I can tell you... You wouldn't want to run out of the house too quickly, you'd knock yourself out on the transom :D

In the end I held the rudder up out of the way on a rope and dug down about 8", it was enough to let the end of the stock drop clear of the tube and let me remove the rudder.Under the tiller was this tufnol block with a brass or bronze bearing inside it.  The screws had been knocked out of the GRP by my attempts to remove the tiller but there is no serious damage. There is also a similar set up at the bottom of the tube.


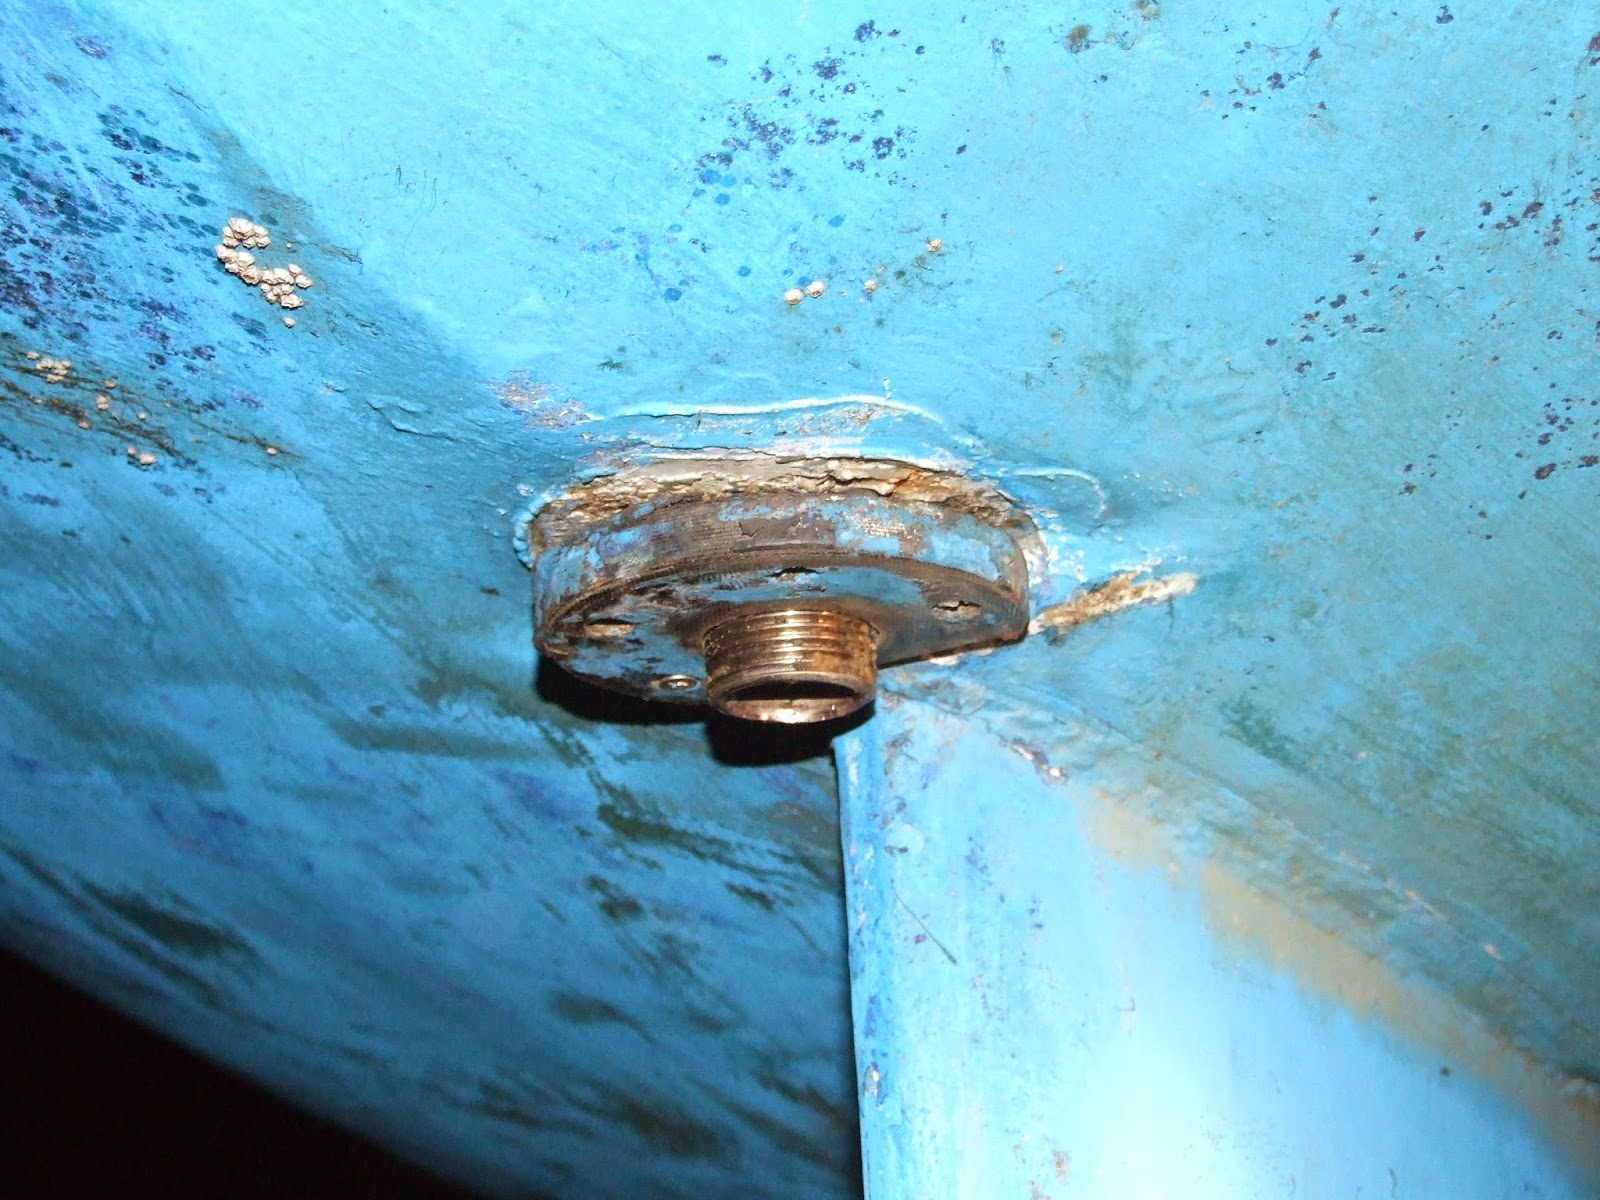
Under the collar was a sight to gladden the heart,  it looks like the original galvanised steel tube has been replaced with a plastic tube.  You can just see the end of if flush with the GRP.  I just need to go and see my fabricator and get something made up for the lower pintle, then it can go back together.