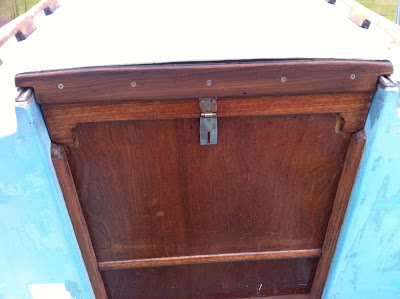
Although rotten and held on with the ghosts of mild steel wood screws it still took some time to remove. The main problem was the horrible handle that had been screwed on from the inside then fibre glassed over. I used the dremel to get to the screw heads, but they had decided they were not going to shift. They dremel was then used to saw through the handle and the screws then knocked back through. A fair amount of sanding and cleaning then took place to remove the old glue and ensure every thing fitted nicely before moving on.
The main problem with its design was that it didn't over hang the wash boards, so any rain would just run in under it. I thought it best to make the new piece quite a bit thicker, I also set the saw blade at a 10 degree angle to give it a nice profile then finally set the blade really low, about 2mm and routed a drip channel into the underside.
Once happy with the shape and finish, I drilled & Countersunk holes for the stainless steel screws, spread the mating surface liberally with sikaflex; then attached; making sure it was pressed home all the way.
A massive sikaflex clean up operation ensued! It's nice to be making progress again, I'm chuffed with this job, it went as smoothly as could be expected. Just needs a rub down and varnish once the sikaflex has dried.


Nice work! What about the padlock hasp though??
ReplyDeleteAha.. I have a cunning plan. I'm doing away with the padlock and will put one of these in.
ReplyDeletehttp://uk.rs-online.com/web/p/cabinet-drawer-enclosure-locks/1959616/
Nice work Phil, looks good and the lock idea is good, immight do that....eventually. Andy
ReplyDelete